Building an Audiovisual Synth #1: The Graphics Foundation
Learning how to create a window, draw shaders that react to user input, and run the program on a Raspberry Pi.

In the first part of building my own audiovisual synthesiser, I was learning how to create a window, draw a shaders that reacts to user input and run it on a Raspberry Pi.
Creating a Window
The first thing was to create a new project with cargo new my_project and add some dependencies to it, like winit and wgpu. The winit crate lets you create a window, which itself is empty, but you can set its size, title, transparency, and all sorts of things.
Adding User Input
The key part of this section was that you first set up the window and then let it run in an event_loop. Inside that loop, you listen for all kinds of events like mouse movement, keystrokes, or resize events. Using the match control operator, you then define what should happen for each of them.
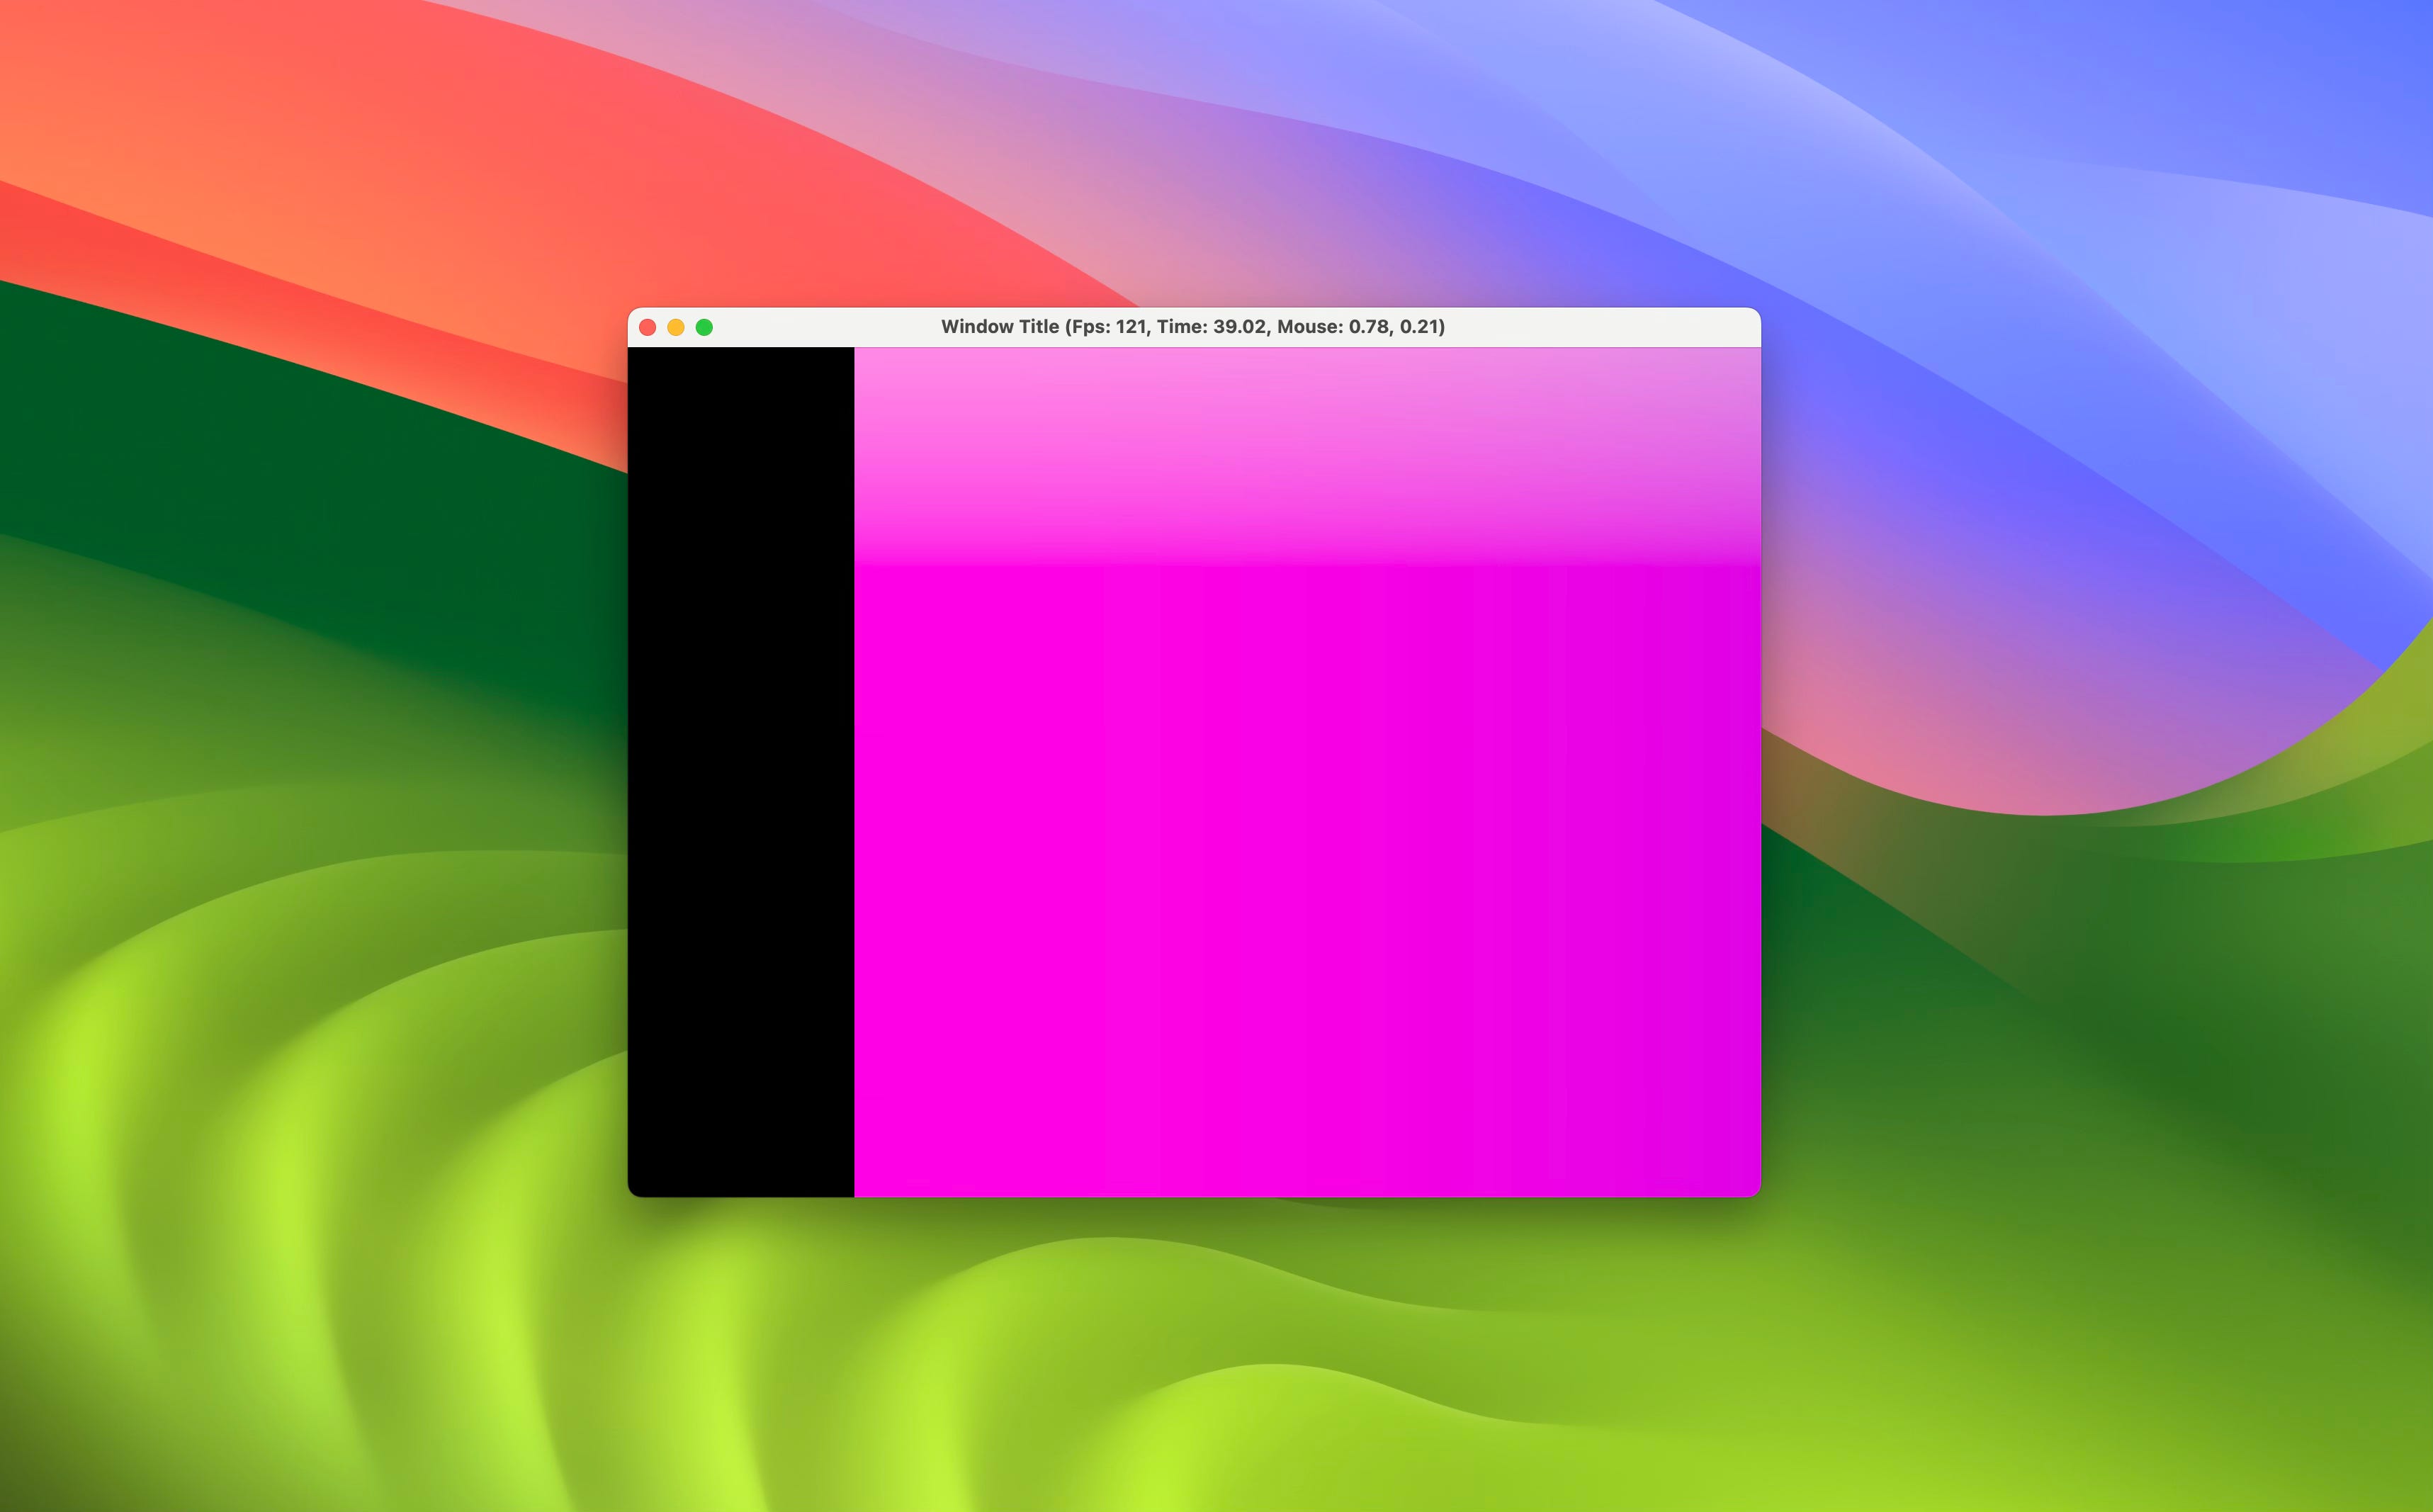
Setting up wgsl
Having a window and listening to user input is great. But in order to draw something inside, we need a connection to the GPU, which is done with `wgpu`. It is a sort of wrapper around different graphics APIs that lets you run your code on different systems like macOS, Windows, Linux, and the web.
This is quite powerful but also very complex and requires many steps to set up. I was following An absolute beginner's guide to WGPU by zdgeier, which was very helpful.
In short, you first need to create things like instances, surfaces, adapters, devices, queues, and others. They all make up the render_pipeline, which specifies how you want your image to be created. In addition, you need to specify buffers, bind groups, and other things to pass data (uniforms) into the shader.
The key part for me was creating a state struct that holds all elements of the window, wgpu, and other aspects together.
Running Shaders
The next part is to actually draw frames inside the window. This is done by creating a render_pass where you choose the pipeline, bind groups, and specify how many vertices you want to draw.
In my case, it was only four since I am using a fullscreen quad to show full-frame fragment shaders. To control aspects of the shader while it is running, I am adjusting values in a state.uniforms struct in the event_loop. Those values are then used in each draw call, which is called as many times as possible.
At first, I had the shader code written directly into the main file. But then I learned that I could simply use the include_str!() macro to load any file at compile time. This way, I could write different `shader.wgsl` files and swap between them while running the program.
What was new to me was the WGSL format, since I am more familiar with GLSL, so this was a bit challenging.
Running on the PI
I was developing all this on a Mac, but the goal is to have an app that is running entirely on a Raspberry Pi to be portable. So at some point, I did a quick test on how to compile it on a Pi, which was quite easy.
I just needed to install things on the Pi and change limits in the wgpu configuration. But compared to a Mac, it was running a bit slow, which is just natural for that device.
Key Learnings
You use the event loop from winit to react to user input and other things.
Some important parts of wgpu are the render_pipeline, bind_groups, and render_pass.
Having a state struct to hold all data and functionality is very important.
The Raspberry Pi is powerful for what it is, but still not very fast.
Potential Improvements
There are so many things on how to get this further, so here are my main points:
More complex pipelines, like multipass or many draw calls (requires a complete rebuild but is interesting).
Shader hot-reloading while the program runs (makes it extensible).
Add a UI to see and control the app state (could be in the same window or as a separate one).
But I am very proud of myself that I now have this basic program running and can show a shader in it that reacts to user input.
Next Steps
The next part of this will be to understand how to do very basic audio:
Create a sine wave
Change its frequency based on mouse input
Create an envelope to control the amplitude triggered by key input
Let’s see how this can be done and a reminder to myself is to not do too much.